


We will briefly discuss here how to connect to a camera, start IR video acquisition and record video to the hard drive. In details these functions will be discussed later in this manual.
Connecting to a camera
1.Make sure that camera drivers and other necessary software delivered with the camera is installed. Consult the camera documentation.
2.Connect the camera to the computer and power it on.
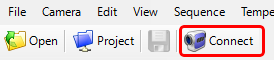
3.Run IRT Analyzer and click 'Connect' button in the toolbar.
4.
5.You will see 'Acquisition Setup' dialog. First you need to select camera driver in the 'Camera' combo box. 'Disk Source' driver can be used to emulate data from a camera using a prerecorded video stored on disk.
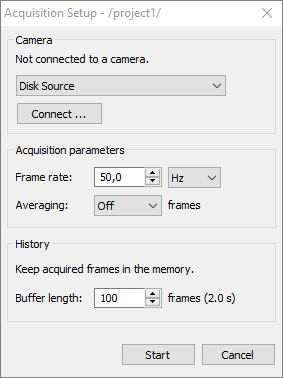
5.Click 'Connect' button. You will see a configuration dialog to adjust camera communication parameters. For 'Disk Source' driver you may select a sample video located in 'Documents\Infrared Samples'.
6.Click 'Start' to start acquiring IR video from the camera.
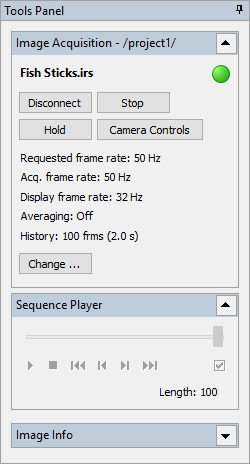
7.To stop image acquisition, click 'Disconnect'.
Recording IR video
1.Click on 'Record Images' button in the toolbar:
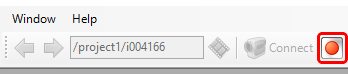
This will display the 'Image Recorder' dialog.
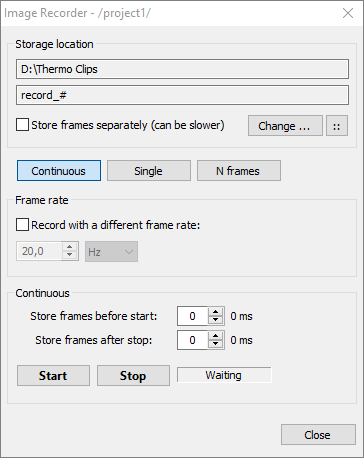
2.Select where you want to store your record by clicking on the 'Change' button.
3.Click 'Start' button to start recording and 'Stop' to stop.
Loading the recorded file
Recorded IR video file can be opened for detailed offline analysis. Use main menu 'File | Open' and browse for the storage location which was selected when images were recorded.