


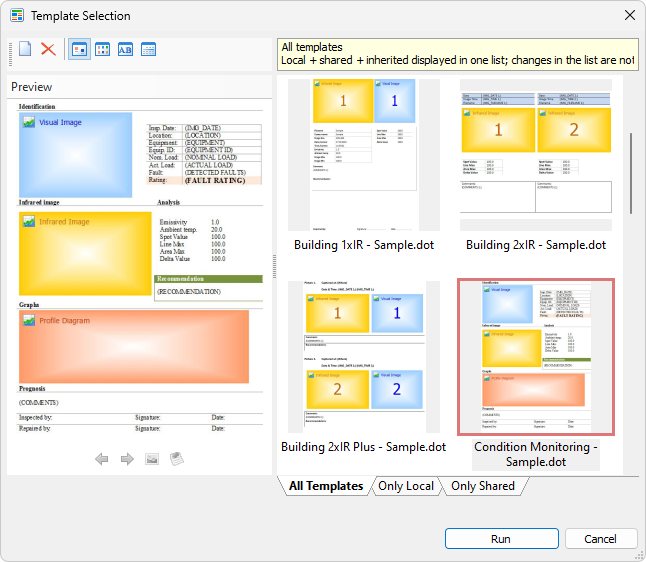
The template selection dialog opens when you choose Create Report for Image or Create Report for Folder in the Tools menu. In this dialog you select a template which will be used for your report.
Template Selection dialog has its own toolbar.
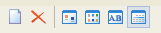
In this toolbar you can choose how to show the templates in the list of templates: as thumbnails, as icons, as a simple list or as list with details. Using this toolbar you can also delete the selected template, or create a new template.
Under the toolbar there is a preview section. There you can see an outline of what the report will look like if you use the selected template. Click on a template name to select it and see its preview. Yellow, blue and red rectangles are placeholders that determine the place in the page where one or another element will be located in the report. See Custom report templates for more information.
The right-hand part of the dialog contains a list of all templates available for the current folder. It has three tabs at the bottom:
§Only Shared: templates that are available for all folders on the computer.
§Only Local: templates available only for the current folder and its sub-folders (these templates are stored in the current folder).
§All Templates: local, inherited (templates stored in folders up the folder tree) and shared templates.
To start report generation, after you selected a template, press the Run button.
Hint: When you working on a custom template, it is convenient to open the template for modification also from this dialog. To do it right-click on a template and select Edit in the context menu. |
For information about local, inherited and shared templates and for instructions of how to copy templates from other places see topic Managing report templates.