


Image recorder with triggers can record images automatically, starting and stopping recording by trigger events.
To configure image recorder, open Automation Mode setup dialog (main menu 'Automation | Automation Mode') and select 'Image Recorder' tab.
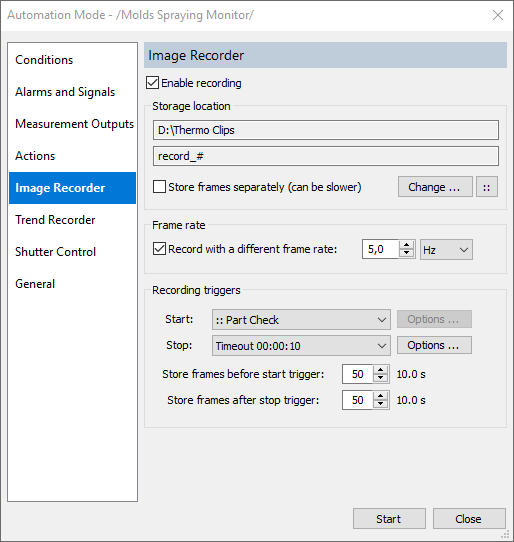
·Marking 'Enable recording' check box will enable recorder.
·Storage location: see description in the Image recorder topic.
·Frame rate: recording frame rate can be lower than acquisition frame rate.
Conditions can be used as triggers. When condition changes its state from false to true or from undefined to true, trigger is fired.
Conditions are listed in the 'Start' and 'Stop' trigger combo boxes with :: in the name.
And there are special triggers available:
1.Frame counter: fires after the specified number of frames is recorded. Can be used only as a stop trigger.
2.Timeout: stops after the defined time period. If used as stop trigger, timer is started when recording starts. If used as start trigger, timer is started after image acquisition starts or after recording stop.
3.Screen Button: allows to simulate trigger event using an on-screen button. Sometimes it is convenient to start recording manually, and stop by some condition or time event.
4.COM Port: uses loop-back on RS232 port of computer to get external events (line closed, line open).
Store frames before and after (pre/post event recording)
You can setup image recorder that it will record data acquired before start event. This will compensate reaction delays for quick processes. Length of the recorded pre-trigger video is limited by the size of the history buffer defined during acquisition setup. Number of frames taken from the history buffer is defined by 'Store frames before start trigger'.
In the same way you can tell image recorder to record some data after the stop event. This is defined in the 'Store frames after stop trigger' field. Length of the post-stop video is not limited as history buffer is not used in this case.